1.1. Core Concepts
1.1.1. Scoring
Scoring is a core part of Cyber Triage and represents how relevant an item is to an intrusion:
Bad: The item is very likely to be associated with an attack.
Suspicious: The item could be part of an attack, but also could be normal behaivor. You should know about it and make a decision.
Cyber Triage will automatically assign scores to items and you can manually assign and change scores.

Note
Cyber Triage has a different workflow because of these clues. You may have been trained to first go to an event log or to Prefetch to look for suspicious data.
That’s not the Cyber Triage way.
With Cyber Triage, you start with the bad and suspicious. It already went to Prefetch and the event logs for you.
See Scores and Labels for details.
1.1.2. Agentless Solution
Cyber Triage does not require an endpoint agent, which means it is NOT always running. It deploys as needed using your existing infrastructure, such as EDR agents or Powershell (or a USB drive).
Cyber Triage has its own Collector program that is simple to deploy and retrieve data with. You just need to decide:
How to get the Collector on the system
How to get the data back
There are lots of options. Those are covered in Getting Data Into Cyber Triage.
1.1.3. Phases
There are five basic stages to an investigation when using Cyber Triage:
Collect: Copy data from an endpoint using the Cyber Triage Collector or a 3rd party tool.
Ingest: Import the data so that it is normalized and saved into the database.
Automated Analysis: Automatically score artitacts as Bad or Suspicious to give you starting clues.
Assisted Examination: Review the results and find more evidence. This is where you will spend most of your time.
Report: Results can be shared with humans or machines.

Each of these phases is covered below.
1.1.3.1. Collect Phase
Cyber Triage needs to access data from the computer being investigated. It supports data from both its collection tool (called the Collector) and 3rd party tools.
Examples of collecting data include:
Running the Cyber Triage Collector on a live system and uploading results to cloud storage (S3-compatible or Azure)
Accessing EDR telemetry
Making a full disk image
Refer to Getting Data Into Cyber Triage for help in identifying the best way to collect in your scenarios.
Note
The main Cyber Triage application is never installed on the system being investigated. Only the stand alone Collector or another 3rd party tool is run on the target system.
1.1.3.2. Ingest Phase
When you import data into Cyber Triage, it will:
Normalize the data into Information Aritfacts
Store the data in an incident database.
Normalizing converts data artifacts (such as Prefetch and event log IDs) into information artifacts that represent its meaning. For example, Prefetch data is stored as a “Process” because Prefetch means that a process once ran.
Note
Cyber Triage can show all items that came from a type of data artifact, so it is still posible to see everything from Prefetch.
Cyber Triage will also show you how it knows about an artifact in the ‘sources’ tab.
More information can be found in:
1.1.3.3. Automated Analysis Phase
Artifacts are analyzed as they are ingested and scores are assigned to them. Example analysis techniques include:
Malware scanning
Yara rules
Past cases
…
See Automated Analysis for details.
1.1.3.4. Assisted Examination Phase
As artifacts are being scored (or you can wait until they are done), your review of the system can begin. We recommend three steps:
- Summary: Get a quick overview of the host. It is likely new to you. You should know:
What Cyber Triage scored as Bad
What the usual user login behavior is
What processes there are
Review Notable Items: Next, dive deeper into the bad and suspicious to fully understand them. These are your initial clues. Adjust the scoring on the suspicious items to make them Bad or Unknown.
Review All items: You can then review individual artifacts if you need to. This is where you can go line by line for processes or web artifacts.
This workflow is represented in the Cyber Triage UI when you open a host.
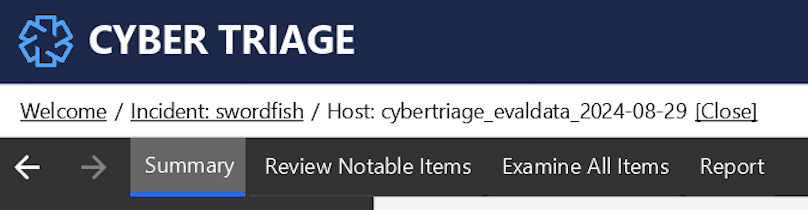
The Host-level Examination outlines these interfaces in more detail. Specifically:
1.1.3.5. Report Phase
Reports can be made for both human and machine consumption. They typically contain only the bad and suspicious items, but some reports include all items.
See Generating Reports.