3.3.4. Add a Cyber Triage Collector File
The Cyber Triage File (previously called ‘Live File’) method will import Cyber Triage Collector output that was saved to a file or uploaded to S3/Azure. To use this feature, you need to either:
Copy the file to your Cyber Triage computer
Configure Cyber Triage to have access to the S3 bucket
See Launching The Collector Manually for the various options on how to manually launch the Collector.
Warning
If using USB on target devices, it is important to have AutoRun disabled on the computer running Cyber Triage® so that it does not get infected by malware that spreads by USB devices.
Watch the Cyber Triage Basics Course videos on this approach:
To add one or more Cyber Triage Collector JSON files, choose Add New Host from the Incident Dashboard and choose the Cyber Triage File box.
You will then be given a dialog with 3 methods to add the file.
Cyber Triage File
For all three options, you will have the ability to supply a password that was used to encrypt the file.
3.3.4.1. Adding a Single Host File
Use the following steps if you have a single file to add.
Enter a display name for the remote host (it can be a host name or more descriptive).
In the file selector, navigate to the JSON file. It could be in the “CyberTriageOutput” folder from the Collector.
You will then be prompted to configure malware scanning settings, see Ingest-Time Settings.
After the ingest has started, proceed to Host-level Examination for an overview of the analysis techniques.
3.3.4.2. Adding Multiple Host Files
You can add multiple files in one step if you have Team or Standard Pro. The multiple files must be either:
In the same folder.
- In a subfolder of the same folder. For example, you could have two JSONs at:
C:\incident1\host1\file.JSON.gz
C:\incident1\host2\file.JSON.gz
To specify a folder of files to add:
Select Browse next to Multiple Files and select the folder that contains your JSONs.
Once you select the folder, the number of files found will be listed under the source folder path, like so:
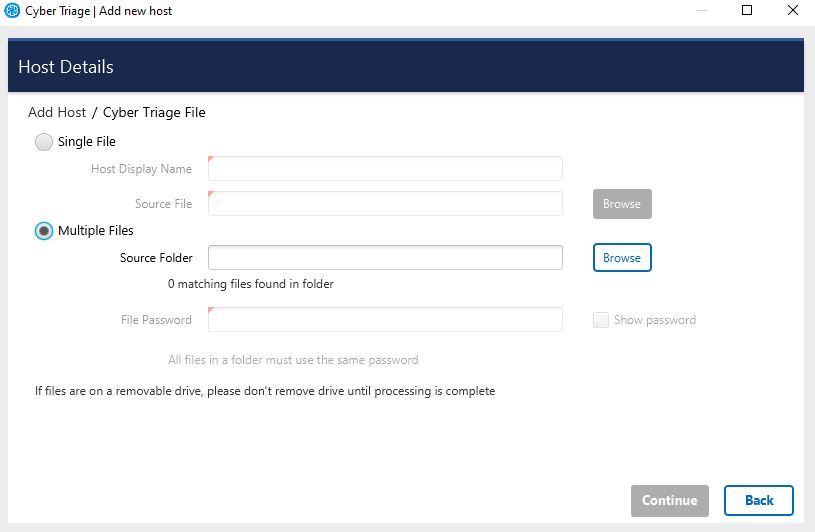
Press Continue on bottom right.
You will then be prompted to configure malware scanning settings, see Malware Analysis Settings.
Return to the Incident Summary Panel to show the status and open the ones that have been processed.
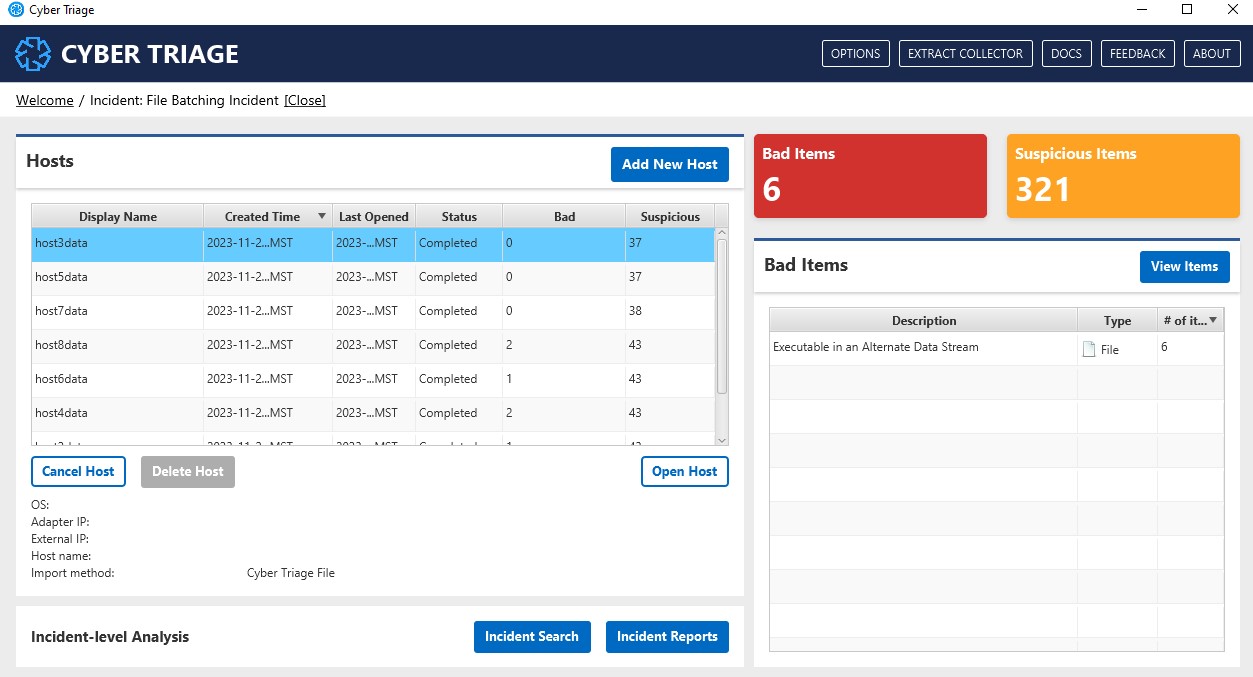
Note that there are two steps to this scheduling process. The first is for each file to get added to the “ingest scheduler” and then it needs to be fully processed.
The hosts will be added with a display name that equals the file name.
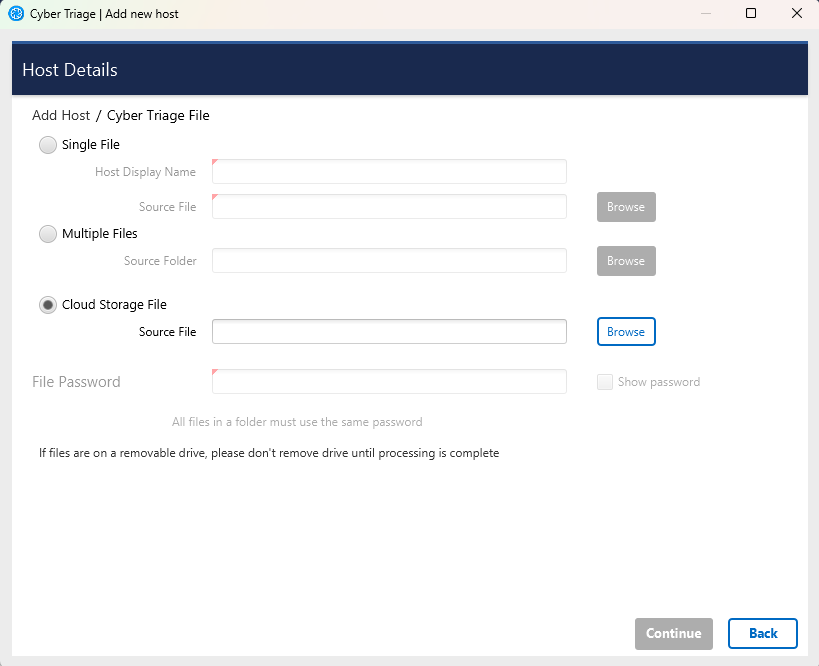
3.3.4.3. Access Cloud Storage
If you configured cloud storage profiles (Configure Cloud Storage Profiles) with a manager role, then you can browse and directly access your buckets. This will not work if you configured only an upload role.
Select Browse in the Cloud Storage section. That will show you a dialog that allows you to pick a profile and see what is in that bucket.
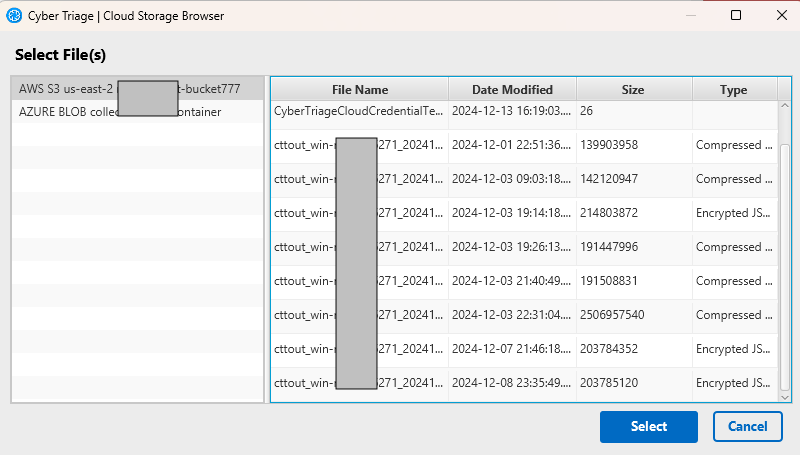
Choose the file.
Press Continue on bottom right.
You will then be prompted to configure malware scanning settings, see Ingest-Time Settings.
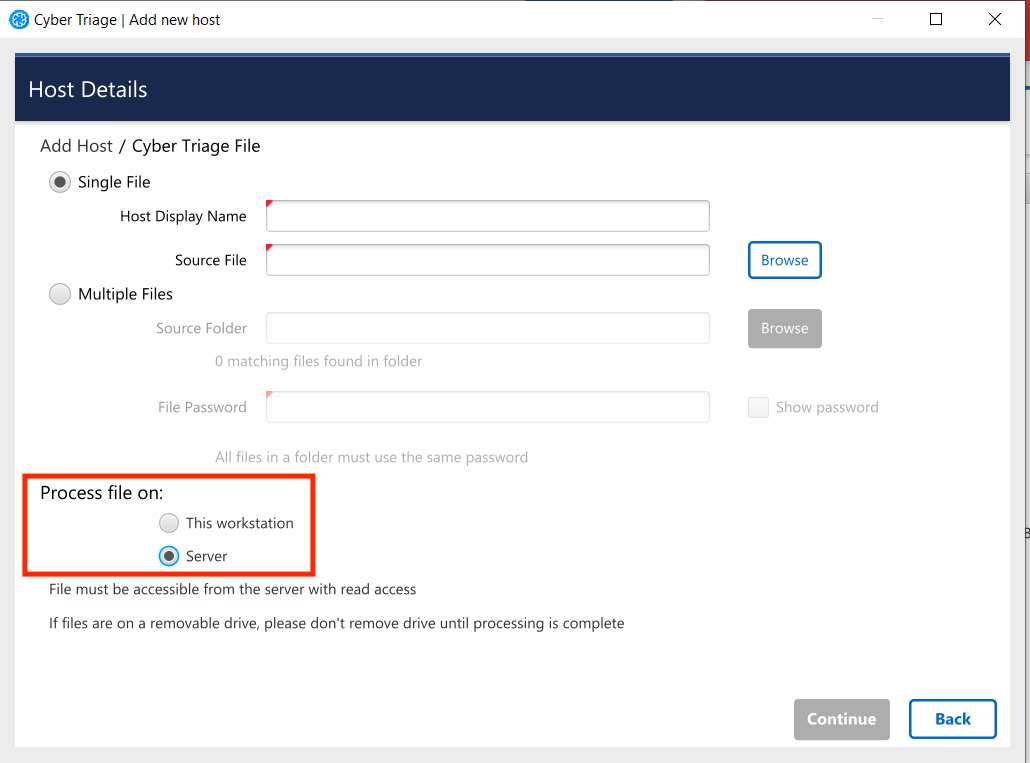
3.3.4.4. Processing Data on the Server
If you are in a Team environment and the server has access to the JSON file, you can choose to have the server insert the data into the database and process it. If you choose this method, note that the server must have access to the data. The client will not upload the file to the server. You need to specify a path that the server has access to.