7.1.2. Crowd Strike-based Collections
You can deploy the Cyber Triage Collector tool with Crowd Strike using the Real Time Response feature. This allows you to collect the artifacts over the network without needing to use the PsExec-based approach that comes with Cyber Triage (see Add Over The Network - PsExec Launch).
Real Time Response is currently available with Falcon Insight.
7.1.2.1. Real Time Response Basics
The official Crowd Strike documentation should be referred to for details of the feature, but let’s cover the basic concepts:
Real Time Response gives you access to a command prompt on a remote system
The Crowd Strike server can store files that get pushed to the endpoint when a response session is started.
The basic approach for deploying Cyber Triage Collector will be to:
Edit the Cyber Triage Deployer script to meet your use case
Upload the Deployer script and configuration files to the library in your Crowd Strike account
Create response sessions as needed and manually run the Deployer
7.1.2.2. Deployer Script
We recommend that you use the Cyber Triage Deployer script to deploy Cyber Triage with Crowd Strike. It takes care of EDR-specific settings and can autodetect that it is running within Falcon.
Here are some special notes about Falcon:
It will kill a command, by default, if it does not finish in 30 seconds. So, the collector needs to be run as a background process so that it continues even if the original script is killed.
It will kill a session if you do not type something into it after 10 minutes.
It copies files into the C:\ drive, which means that output needs to be directed to somewhere else.
Crowd Strike will only copy files back that are 4GB or less. The Deployer script will make files smaller than that.
We found Crowd Strike would time out copying back any large files. If you can’t send it directly to your server, then you should configure it to upload to S3 or Azure.
Refer to Configure the Collector Deployer Powershell Script for getting and configuring the script.
7.1.2.3. Configure Crowd Strike for Collection
There are two main preparation steps to make it easy to deploy the Cyber Triage Collector.
Download and configure the the Cyber Triage Deployer script as outlined above.
Upload the script and any configuration files to the Real Time Response library as outlined below.
7.1.2.3.1. Uploading to The Real Time Response Library
You can upload your Deployer script and any configuration files (cloud storage or file rules) to your Crowd Strike console so that it can be more easily pushed out to endpoints.
Before uploading the script, we recommend you’ve run it locally to ensure there are no syntax errors.
Nothing in the upload process is unique to Cyber Triage, but we will outline the basic Real Time Response ideas here:
The following should be used for the Deployer script:
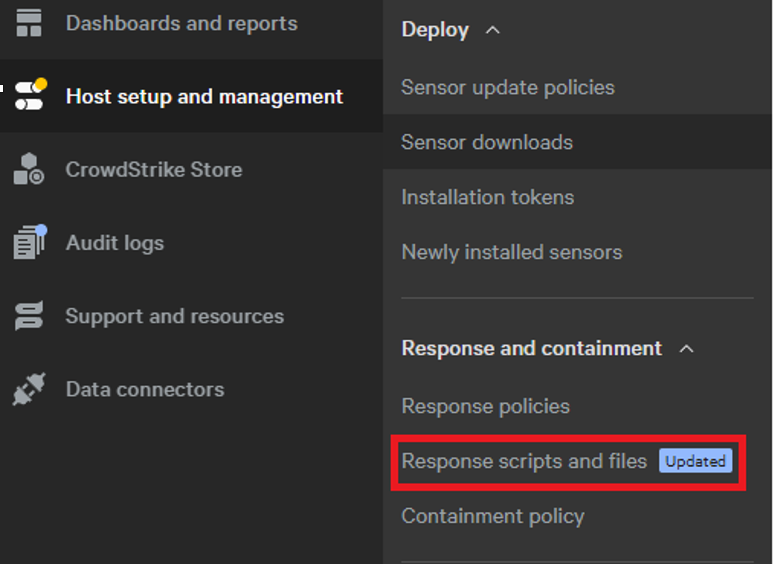
Navigate to “Response scripts and files” under the “Host Setup and Management” menu.
Press the “+Create Script” button under “Custom Scripts”
A configuration dialog will appear.
Give it a name such as deploy_cyber_triage_collector (the same name as the Deployer script)
Specify the type as Powershell
Specify access consistent with your organizational policies
Copy in the modified Deployer script into the text area
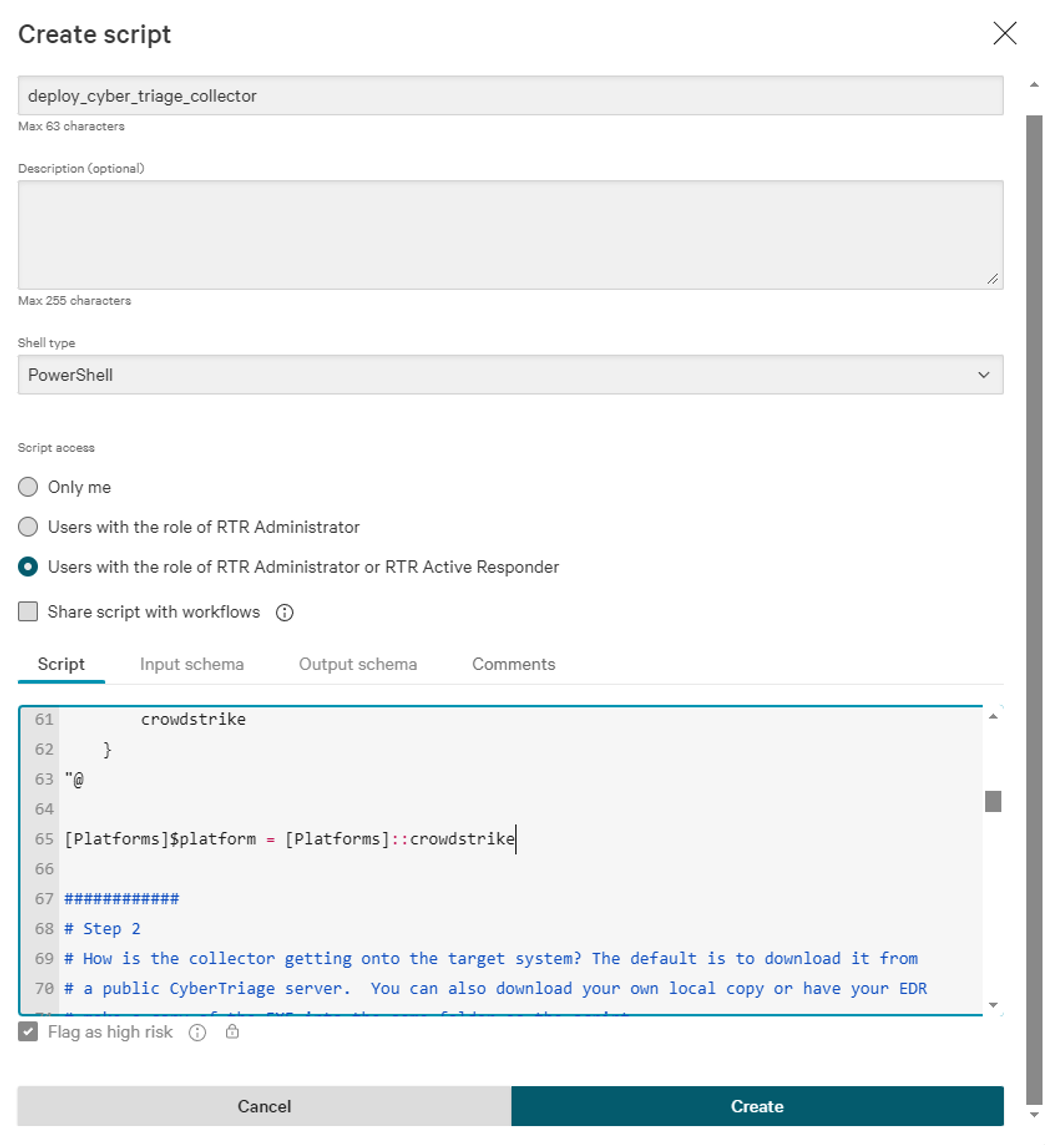
After pressing “Create”, the script will be available as a custom script.
If you need to upload cloud or file configuration files, then:
Go into “Response scripts and files” like in step 1 above
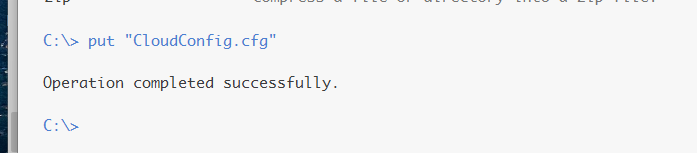
Choose “Put files”

Enter the information for the configuration file.

Repeat for each file.
7.1.2.4. Initiate a Real Time Response-based Collection
Once the Deployer script has been uploaded to the library, you can use it in later response sessions.
You want to choose the “Connect to host” feature on a device that you want to collect from. You can get to the hosts by navigating to them in the listing or from an alert.

If you need to get configuration files to the host, you can do that by either typing in put CollectorConfig.yaml (or similar) or using the upper right hand area in the “Put files” section.
To launch the script, the needed command line can be automatically inserted by expanding the “Host Information” area with the button in the upper right.

From there, choose “Scripts”, “Custom Scripts” and find “deploy_cyber_triage_collector” (or whatever you previously named it when you uploaded it).
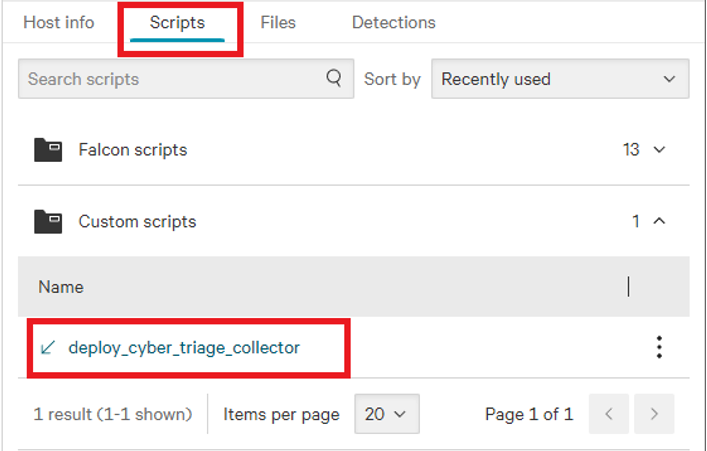
Press “Run Command”, which will automatically run it in the prompt:
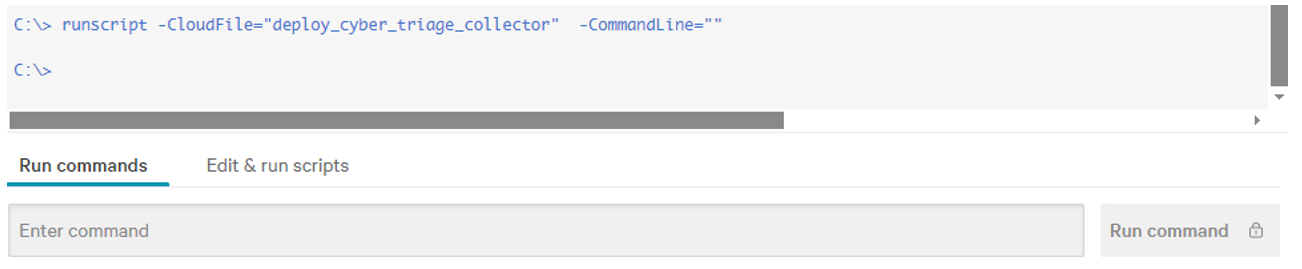
Because Crowd Strike will quickly kill any script that runs for for more than 30 seconds, the collector runs as a background process. You will need to periodically check in to see if it is still running. You can do that with the ‘-status’ argument (you may need to open a new session):
runscript -CloudFile="deploy_Cyber_Triage_Collector.ps1" -CommandLine=”-status”
If you configured the Deployer script to save data to a file, then you need to copy it off the endpoint when it is done. You can do this with the ‘get’ command (you may need to create a new session if the initial one timed out).
get C:\windows\temp\file.json.gz.01